How I Edit Photos Using Afterlight
So I've been asked many times what I use to edit my photos, how I get my house so bright, how do I capture the best lighting, etc.


The truth is, though I adore and strive for perfect lighting as much as possible, sometimes it's just not gonna happen. Whether I do or don't have absolute perfect natural light, I always use the photo-editing app Afterlight to perfect my photos. It's available for purchase in the iTunes App Store and I believe it's also available for Android.

Heres a quick run down and step-by-step of how I typically handle my photos.

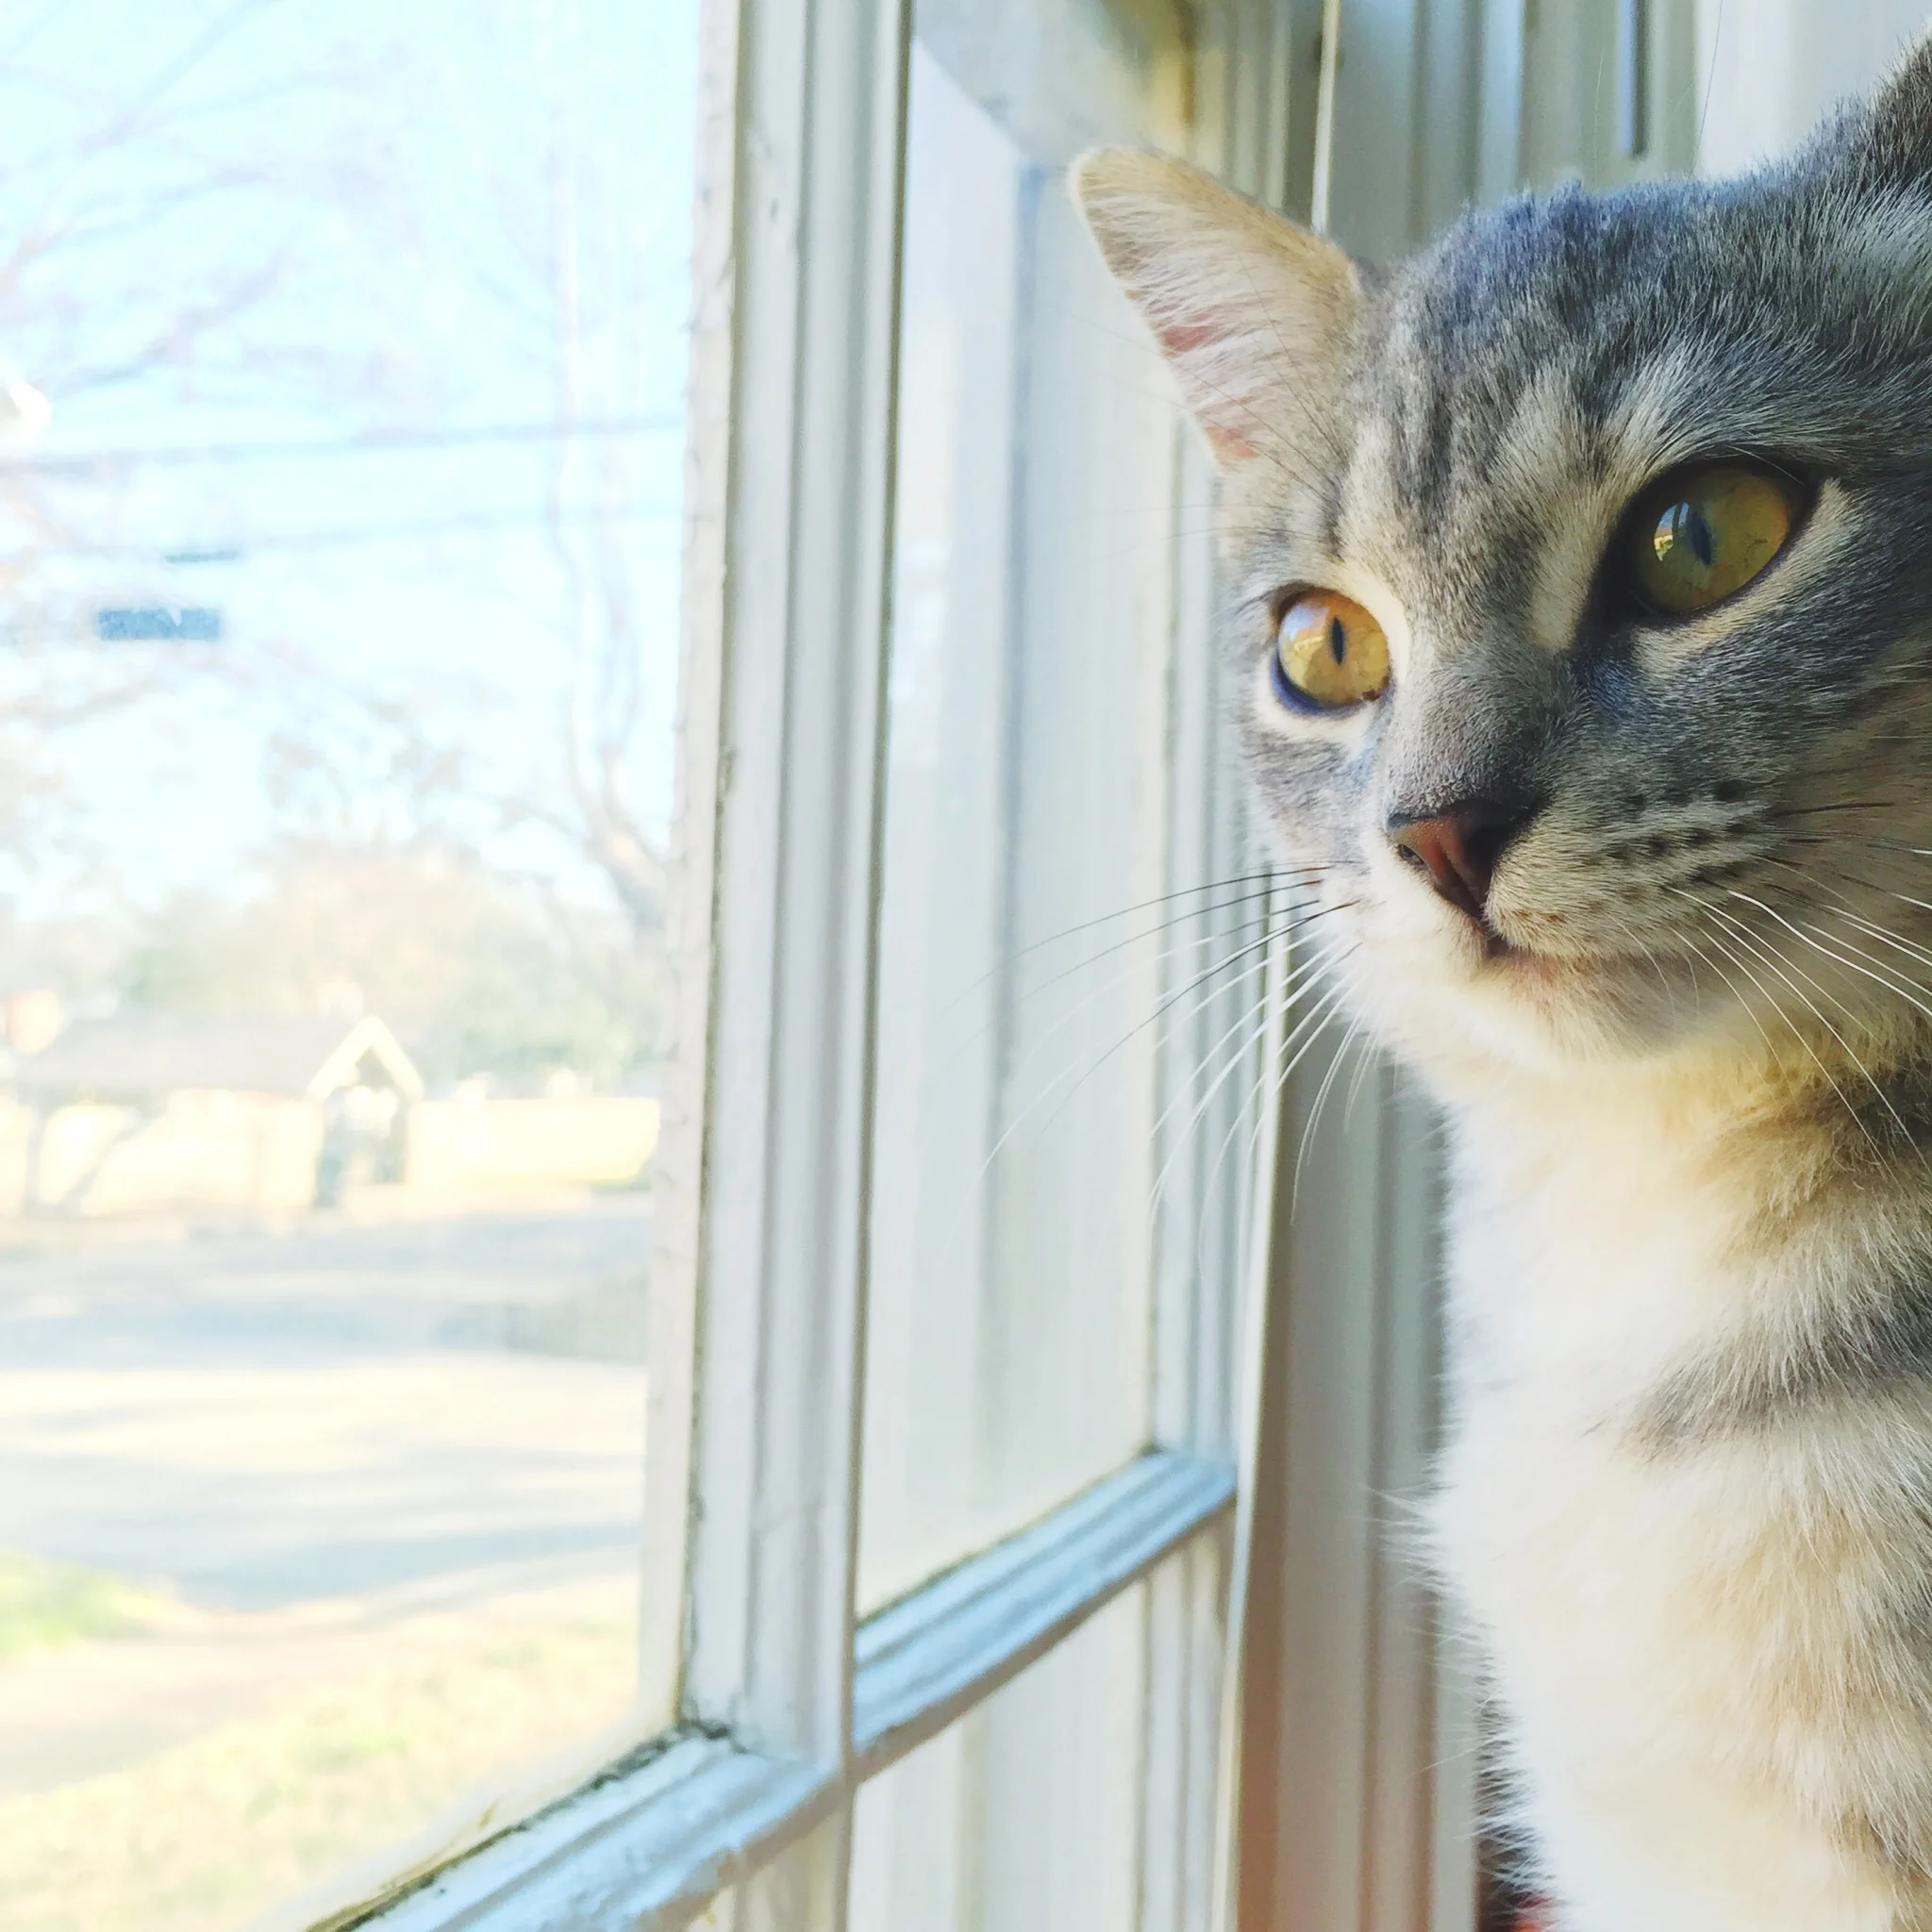
^I will be taking this left photo.

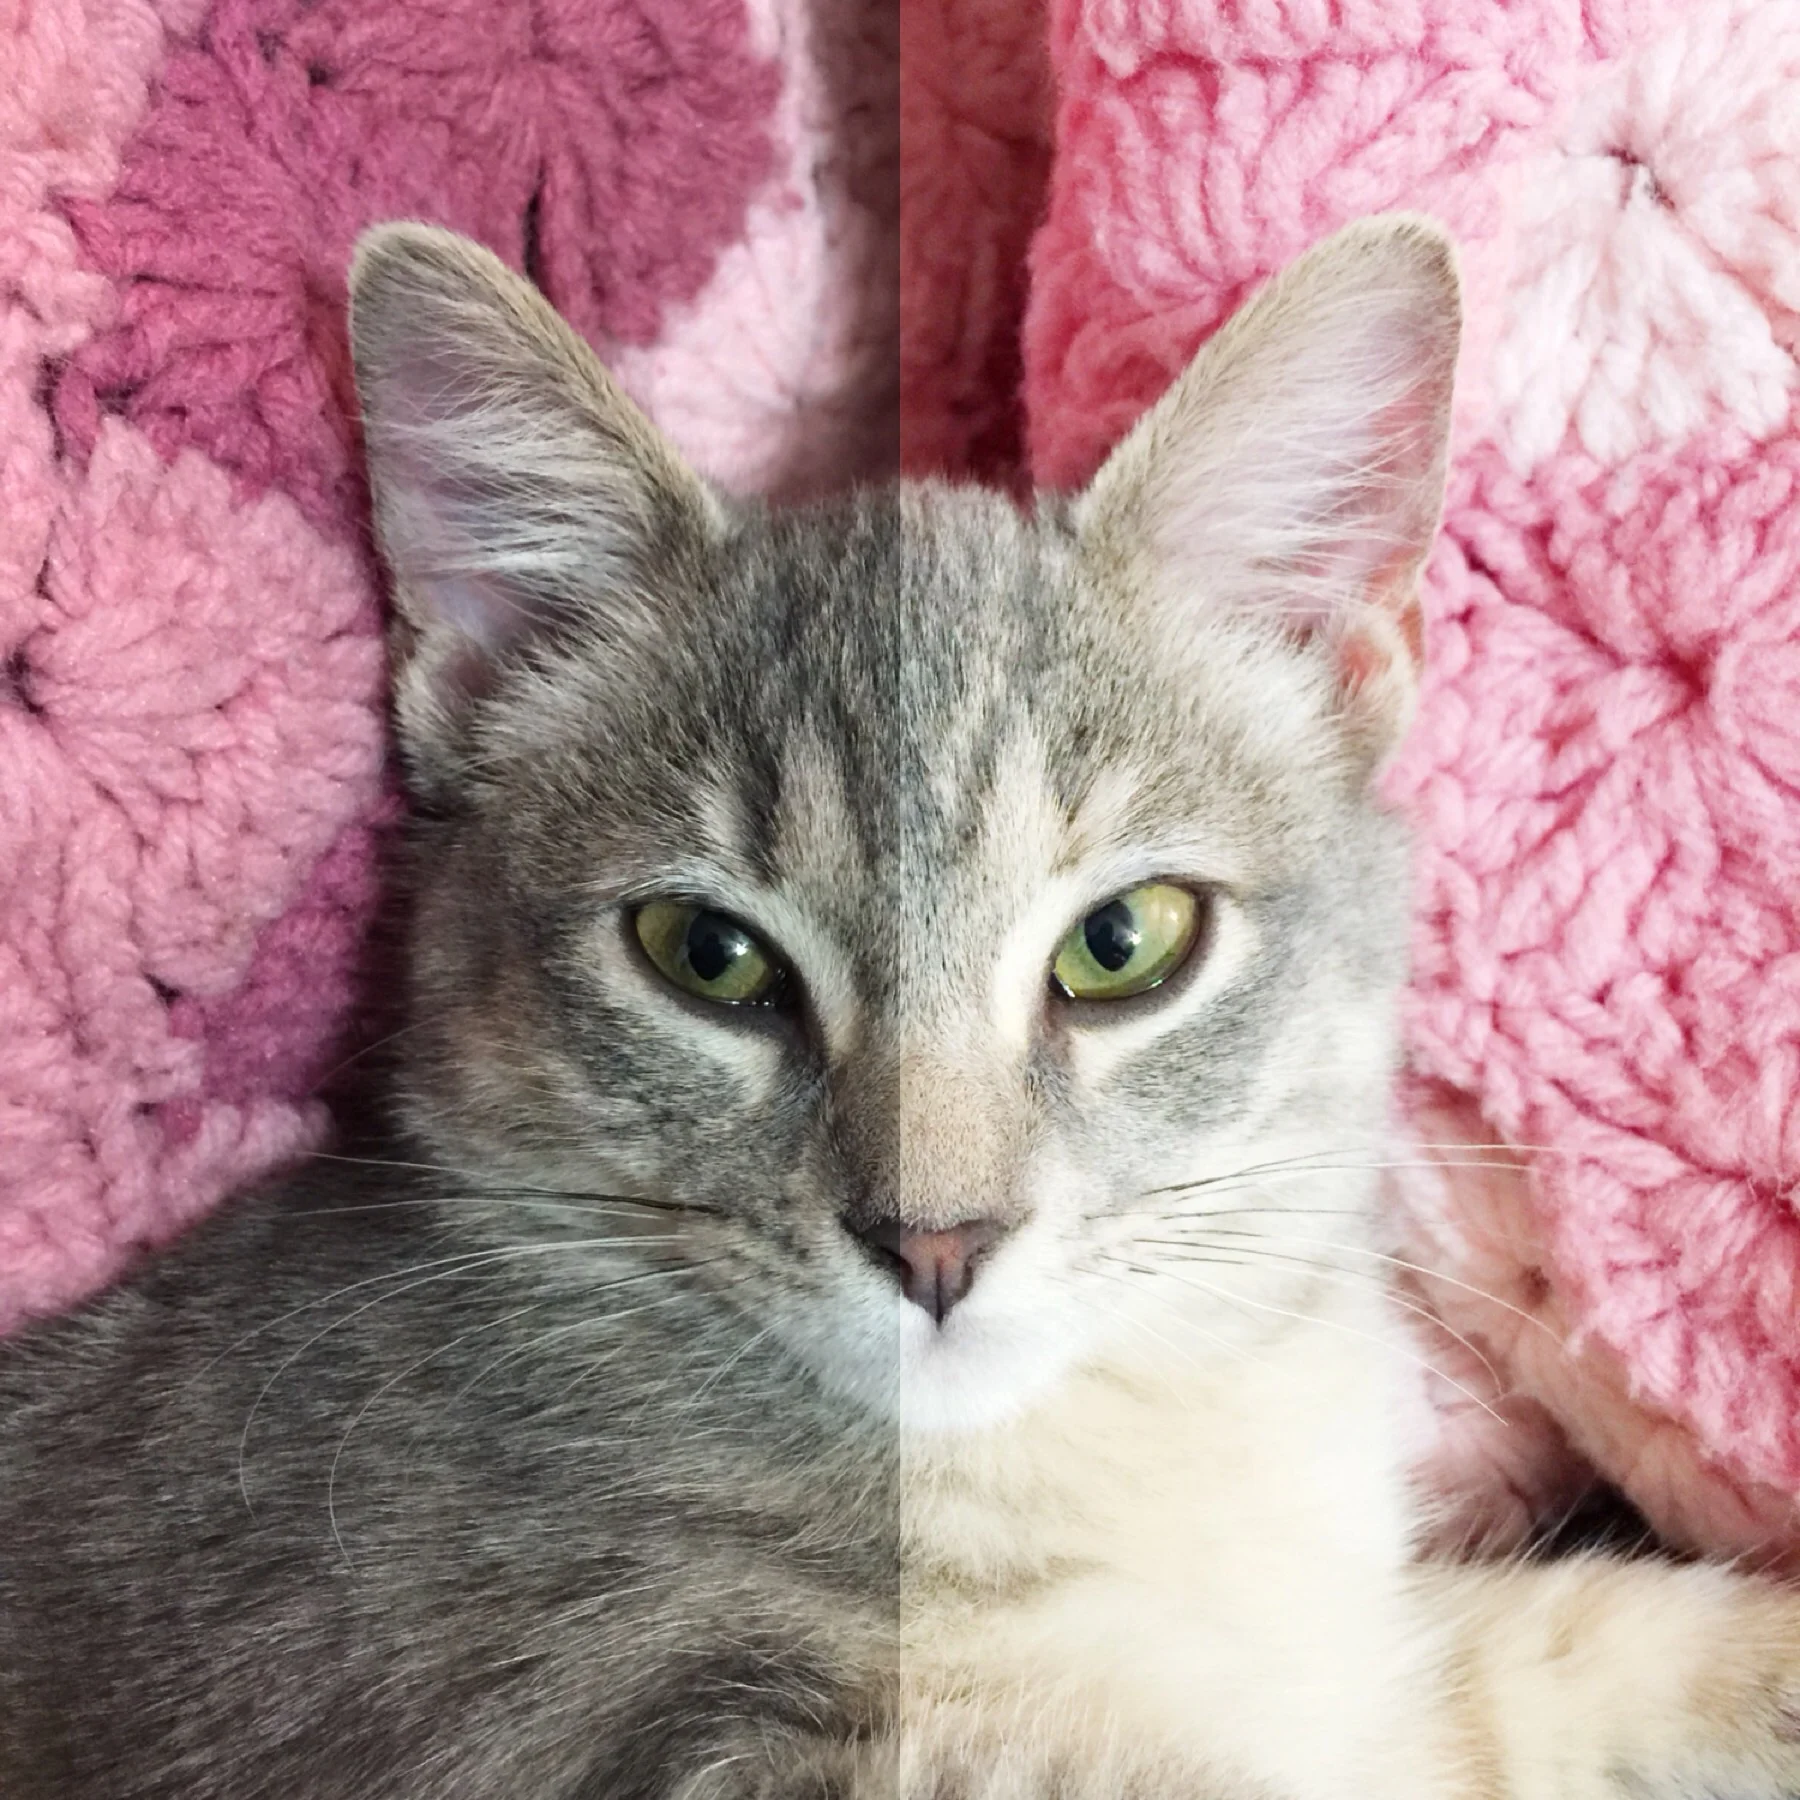
First, I usually bring the temperature of my photos down. This particular photo wasn't TOO yellow, so I only brought it down to -17.

I've adjusted the brightness twice here.

Secondly, I always adjust the brightness. If anything else, I want a crispy and pretty photo, and usually (as in this case) I bring the brightness up up and away! If it doesn't get bright enough of you bring the brightness up to 100+, that's okay! Just hit the check and do it again (as I did here) .
Sometimes, this is enough. Usually, I just stop here, and BOOM! Not over-edited, just brightened and more enhanced. Sometimes, however, I want a bit more warmth and color so..

I'll bring up the saturation! Don't be afraid of a little color pop! Afterlight saturation is really natural, and won't flush out skin tones like other photo editing software.

Lastly, and this is fully optional, you can bring up the shadows, giving your photo a dusty look.